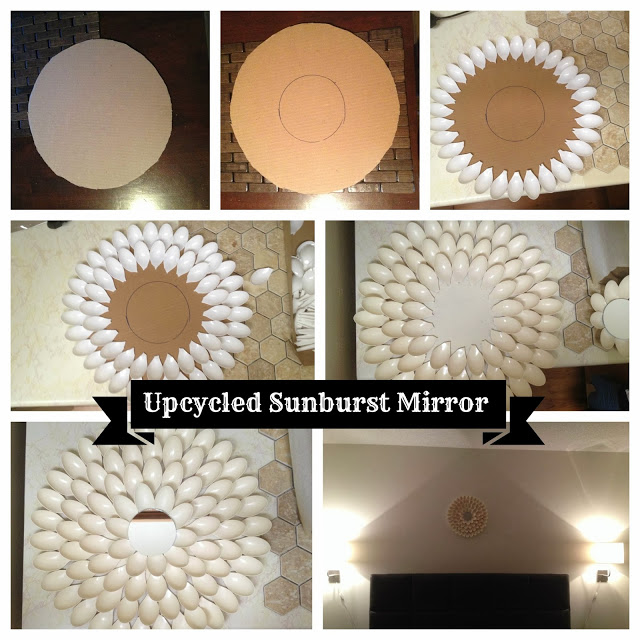
Upcycled Plastic Spoon Sunburst Mirror

 
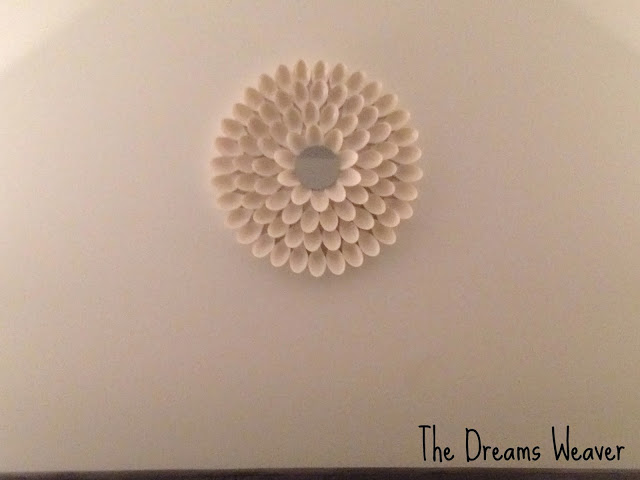
Our room was in need of some DIYing and a more feminine touch {it’s mostly black and white, modern and clean, but it needed a little me added to it} So I headed over to my Pintrest page to my “For the Home” board of DIY projects I would love to complete, but just end up sitting there forever waiting, and waiting for me to get around to. I landed on this fun, cheap, and easy mirror made from the tops of plastic spoons.
Upcycled Plastic Spoon Sunburst Mirror~ The Dreams Weaver

What you will need:

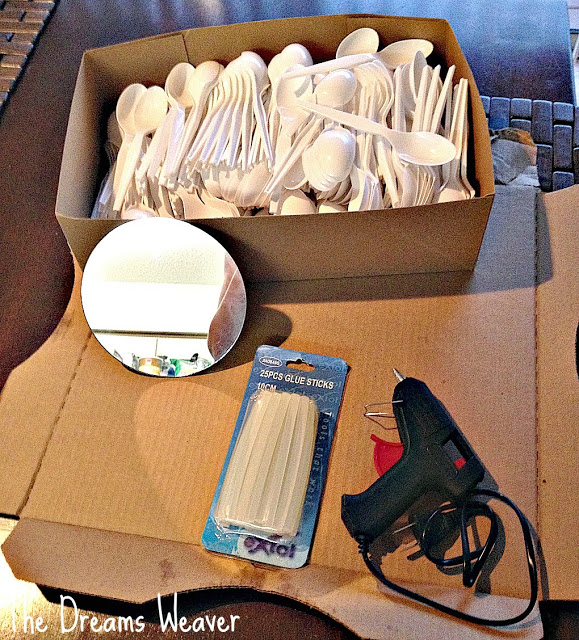
  • A LOT of plastic spoons
  • Hot glue
  • Round mirror {mine’s 3”}
  • Cardboard
  • Spray paint, any color you want the sunburst to be {I chose Satin White}
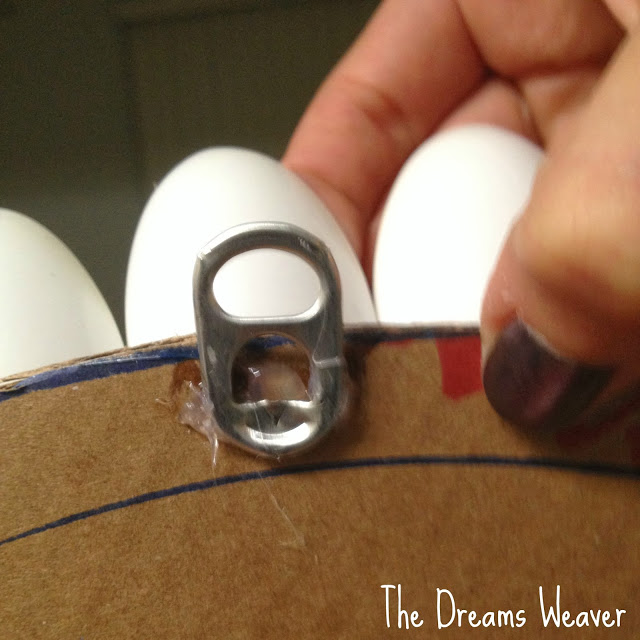
  • Hook to hang it {I used a soda tab}
Upcycled Plastic Spoon Sunburst Mirror~ The Dreams Weaver


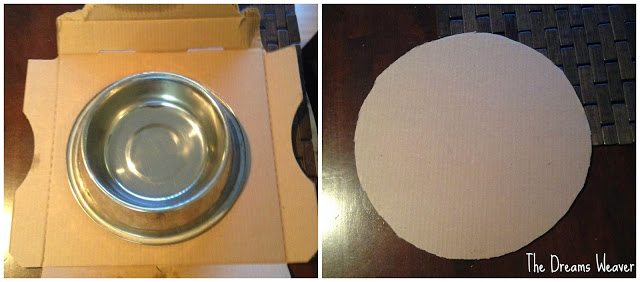
First, cut the base of the mirror out of a large cardboard box. I used my dog’s water bowl, as it looked like a good size for my mirror.
Upcycled Plastic Spoon Sunburst Mirror~ The Dreams Weaver


Next, you need to break the handles off of all your spoons. I actually needed to put on a pair of gloves, since it felt like I was going to get blisters from the spoon snapping back at me. That really helped! 

Upcycled Plastic Spoon Sunburst Mirror~ The Dreams Weaver


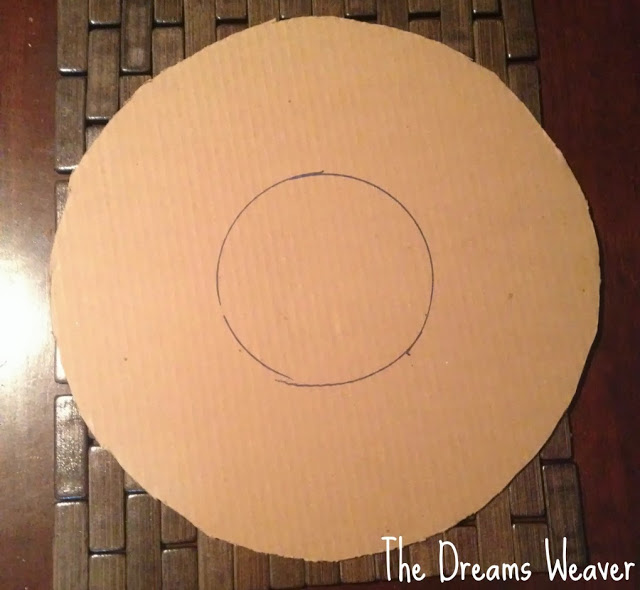
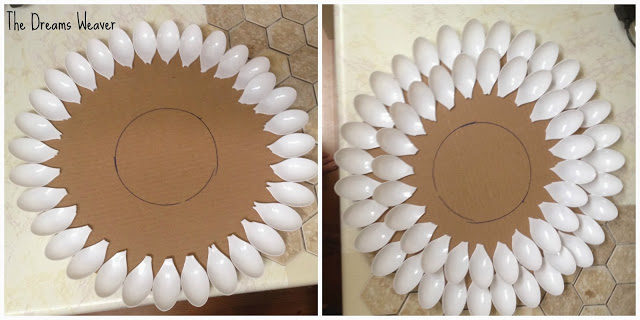
I drew a circle 2” wider in diameter than my mirror in the center of my cardboard. This way I know where I should stop gluing my spoons. 
Upcycled Plastic Spoon Sunburst Mirror~ The Dreams Weaver


Now comes the fun part, gluing all the spoons to the cardboard. Start from the outside of the circle and glue around and around, until you reach the center where you traced for your mirror to be placed. When you finish the outer circle and are starting the next layer, stagger the spoon petals so that they are layered between two spoons.
 

Upcycled Plastic Spoon Sunburst Mirror~ The Dreams Weaver


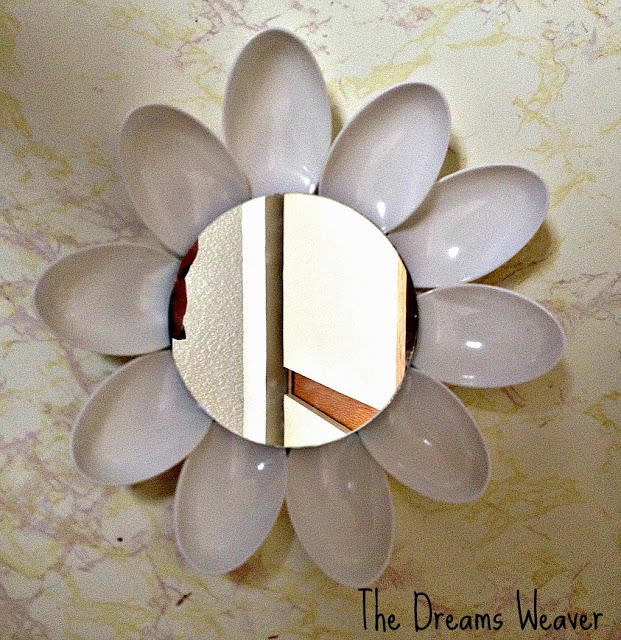
For the last layer of spoons, I actually glued the spoons to the back of the mirror.  
Upcycled Plastic Spoon Sunburst Mirror~ The Dreams Weaver


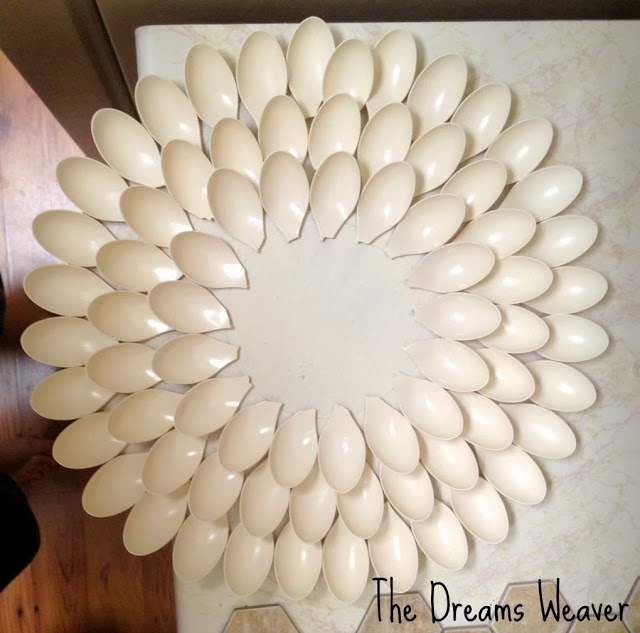
I took my sunburst outside to be spray-painted. This step is totally not necessary, but I wanted my sunburst to look less like cheap shiny plastic, and give them a more matte {expensive} finished look. I used a satin finish, off-white spray paint from Krylon, and sprayed two coats of paint. 
Upcycled Plastic Spoon Sunburst Mirror~ The Dreams Weaver


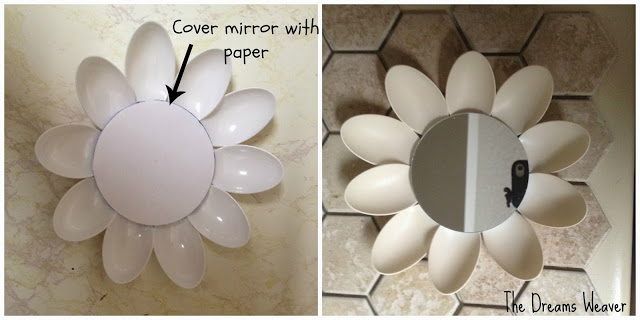
I sprayed the mirror with its one layer of spoons separately. I first covered the mirror with a sheet of paper the same size as it, and taped it in place to protect the mirror from the paint. 
Upcycled Plastic Spoon Sunburst Mirror~ The Dreams Weaver


Once both pieces were completely dry, I glued the mirror center to the rest of the sunburst. 
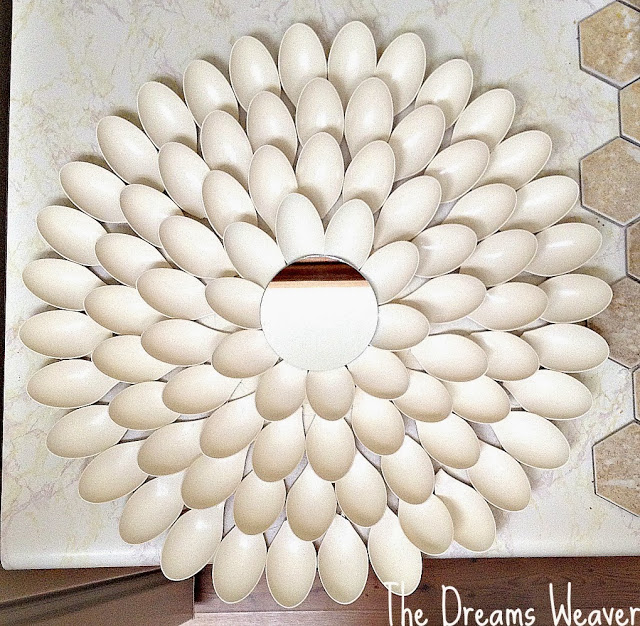
Upcycled Plastic Spoon Sunburst Mirror~ The Dreams Weaver


Last, I needed to find a small hook that I could glue to the back {since you can’t nail into cardboard!} I was stumped as to what I was going to use for this! Then, as I was drinking a can of seltzer, I decided to use the can’s tab! GENIUS! Voila, we have a hook! Just glue the soda can tab to the backside of the cardboard, leaving the top of the tab hanging off to hang from a nail. 
Upcycled Plastic Spoon Sunburst Mirror~ The Dreams Weaver


I am so happy I finally completed one of my Pintrest projects that have been sitting there for forever!  Next stop, back to the Pintrest board.
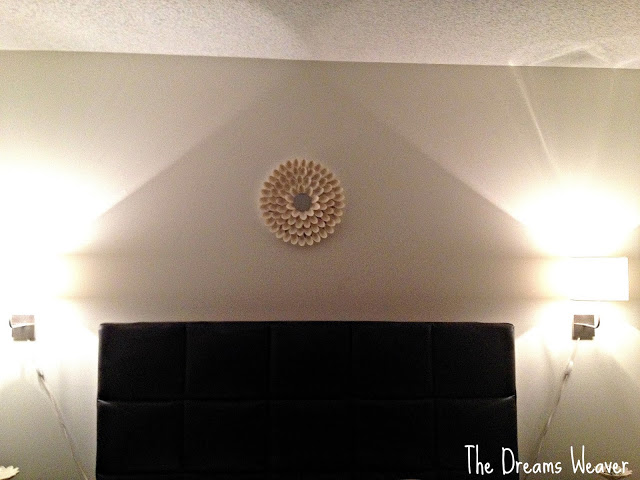
Upcycled Plastic Spoon Sunburst Mirror~ The Dreams Weaver


photo signature_zpsf75b5071.png

Falafellah

I was taking out ingredients to make dinner for the night, as well as starting to prep my challah for shabbas, and had another mashup challah idea. {Was about to make Trader Joe’s falafels to be served with hummus, tahini, Israeli salad, and pickles.}

What you will need:

Challah dough {recipe here}

Trader Joe’s falafel mix, or any falafel recipe or store bought

Tahini

Pickles

Egg for egg wash

Zaatar seasoning

Directions:

Prepare challah dough according to directions.


While the challah dough is rising, prepare and bake your falafel balls according to package instructions. I baked mine for a little less time {and smaller} than the box says since it will be going back in the oven again and you don’t want your falafel too dry.

While the falafel is in the oven, cut up your pickles and set them out on a paper towel to remove any excess pickle juice.

Preheat the oven to 350°F.

Divide dough into 4 equal parts and then roll each part into a log, long enough to fit a loaf pan.

Gently flatten each log so that it is about 2 inches wide. Schmear a thin layer of tahini, but leave a border so it’s easy to seal up after, and top with falafel and pickles. Pinch the edges to seal, and then braid the logs.

Place the challah in a greased loaf pan and let the challah rise 30 minutes. Then brush with egg wash and sprinkle with zaatar seasoning.

Bake for 40-50 minutes, until the top is golden brown and the challah is cooked through.

Enjoy!

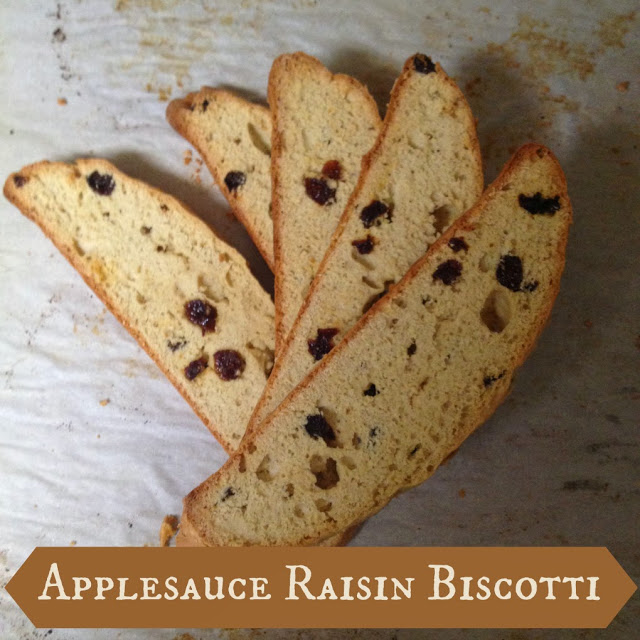
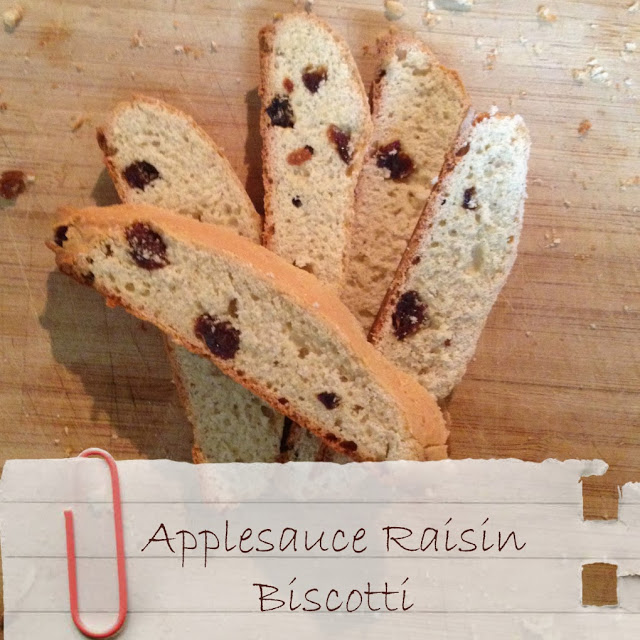
Applesauce Raisin Biscotti


My third variation on my pumpkin biscotti this past weekend, applesauce raisin biscotti. Too many variations? NEVER! Each one has a completely different taste profile.
The applesauce in these keep the biscotti from getting too hard when they bake the last time after they are sliced.
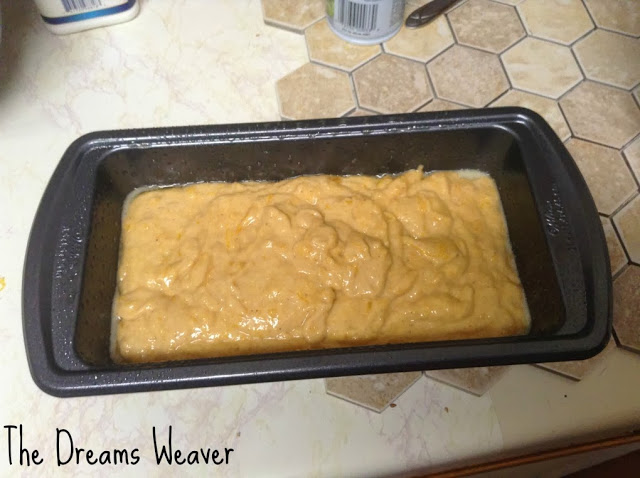
Applesauce Raisin Biscotti~ The Dreams Weaver

What you will need:
2 1/2 cups of flour

1 cup of sugar

1 tsp. baking powder

1 tsp. cinnamon

Pinch of salt

1 tsp. vanilla extract

2 eggs

1/2 cup of cinnamon raisin applesauce

¼ cup raisins

Applesauce Raisin Biscotti~ The Dreams Weaver

Preheat oven to 350°F. 

In a large bowl add flour, salt, sugar, baking powder, and cinammon. 
In a medium bowl, whisk together eggs,, and vanilla extract. 

Pour the wet mixture into the flour mixture. Give it a quick stir to incorporate all of the ingredients, the dough will be a little crumbly. 

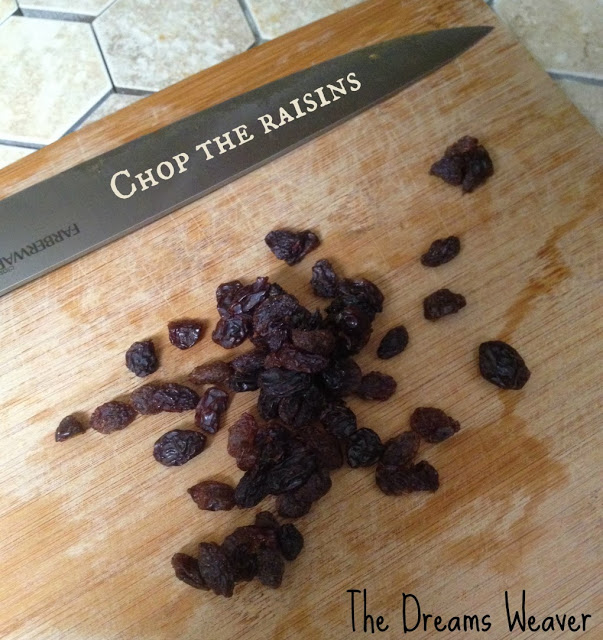
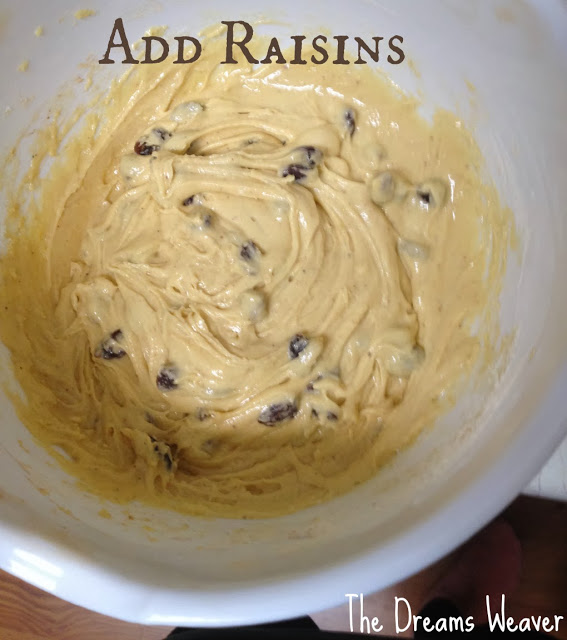
Give the raisins a quick chop and them into the batter.

Applesauce Raisin Biscotti~ The Dreams Weaver

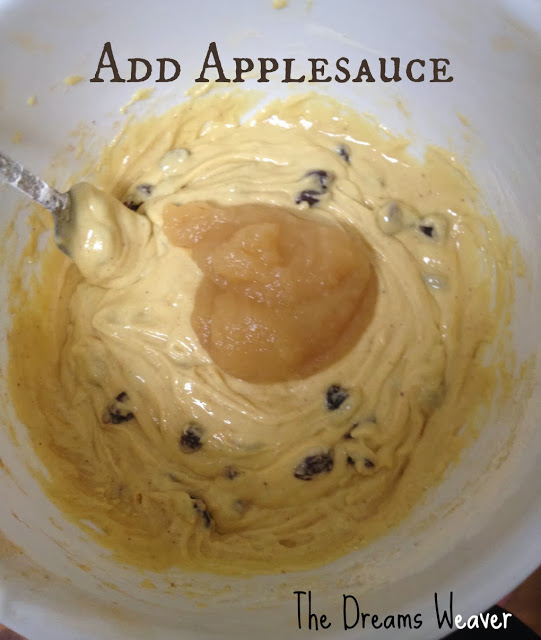
Last, add your applesauce, mix again and that is all.

Applesauce Raisin Biscotti~ The Dreams Weaver

Line a baking sheet with parchment paper. Form the dough into a long log, roughly 16 inches long by 6 inches wide. The log should be relatively flat, only about ½ inch high, otherwise you will have really big sliced of biscotti.  

Baked for 20-25 minutes at 350°F, until the center is firm to the touch. 

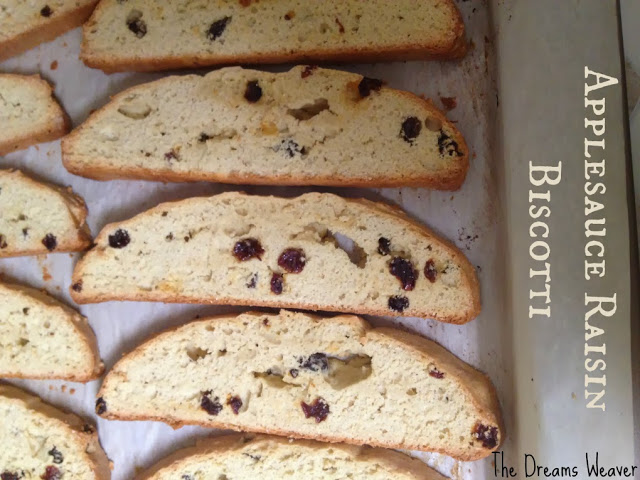
Let biscotti cool for 15 minutes. Use a serrated knife cut the log into 1 inch wide pieces. Turn the oven to 300°F and bake for an additional 15-20 minutes. Allow to cool completely.

Applesauce Raisin Biscotti~ The Dreams Weaver

Enjoy! 

photo signature_zpsf75b5071.png

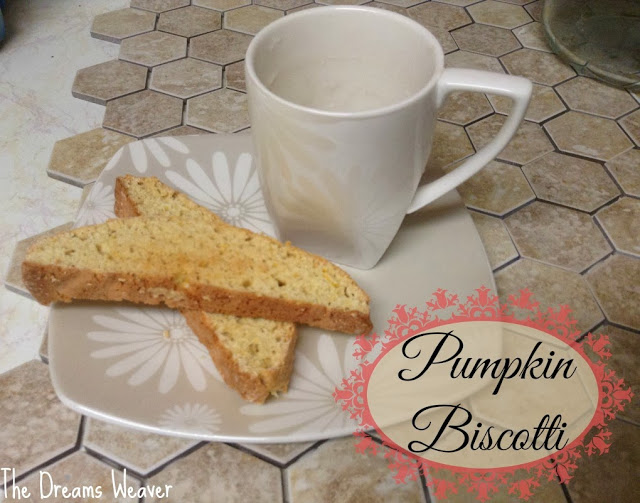
Pumpkin Biscotti

It’s almost Thanksgiving, and this weekend I did a bit more pumpkin baking. I baked pumpkin bread to bring to the Thanksgiving meal, chocolate scones for snacks for the week {I will share my recipe adaptation to my pumpkin scones hopefully later this week} and my new obsession, pumpkin biscotti.

It’s still fall here, but it is undeniable that winter is approaching. As I was baking, grey clouds crept across the sky, and the chilly wind was howling outside my window scaring the leaves right off the trees. This is the kind of weather where you just want to stay in, snuggled under a warm blanket with hot cocoa and some freshly baked biscotti. What else?

Pumpkin Biscotti~ The Dreams Weaver

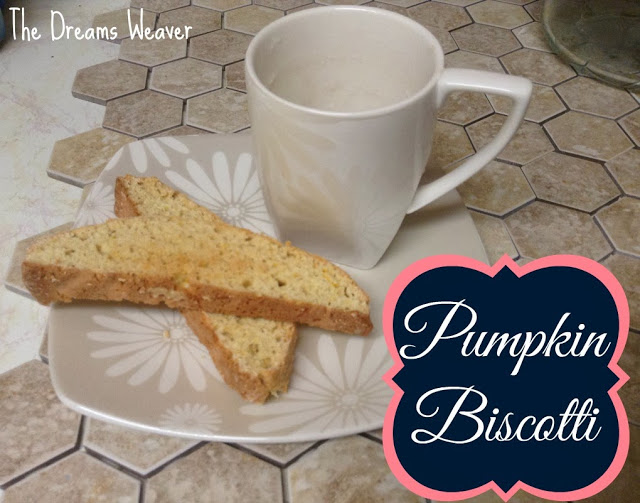
My biscotti are packed with flavor and hints of warm spices, and great for dipping!

While in the oven, they made the house feel so warming and rustic.

My recipe is very adaptable, swap out the pumpkin puree for chocolate chips, nuts, dried fruit, or any other flavor you are craving.

Baking Tip: When swapping out the pumpkin puree, use less flour as it will be drying without the moist pumpkin puree. When making my chocolate chip biscotti, I used 2 cups of flour instead of 2 ½ cups.

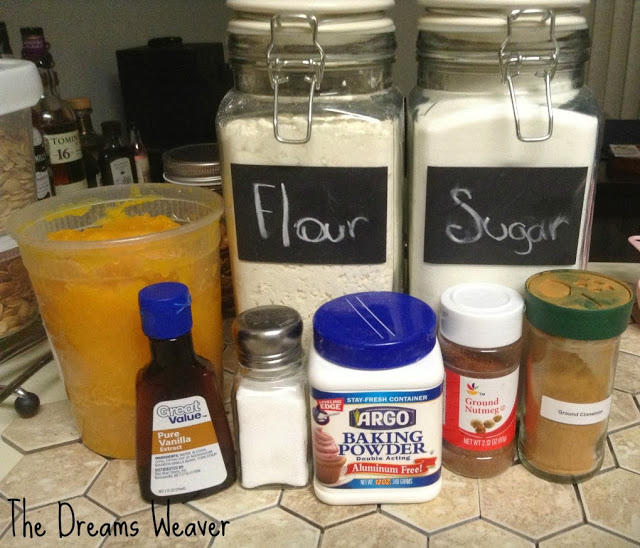
What you will need:

2 1/2 cups of flour

1 cup of sugar

1 tsp. baking powder

1 tsp. cinnamon

1/2 tsp. nutmeg

Pinch of salt

1 tsp. vanilla extract

2 eggs

1/2 cup of pumpkin purée

Pumpkin Biscotti~ The Dreams Weaver

Preheat oven to 350°F. 
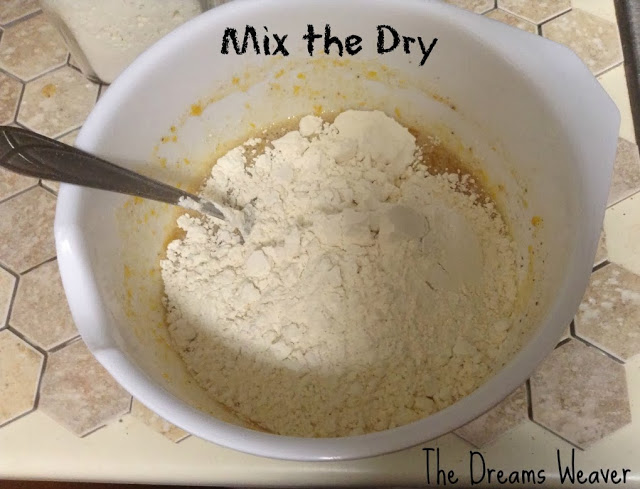
In a large bowl add flour, salt, sugar, baking powder, and spices.

Pumpkin Biscotti~ The Dreams Weaver

In a medium bowl, whisk together eggs, pumpkin purée, and vanilla extract. 

Pumpkin Biscotti~ The Dreams Weaver

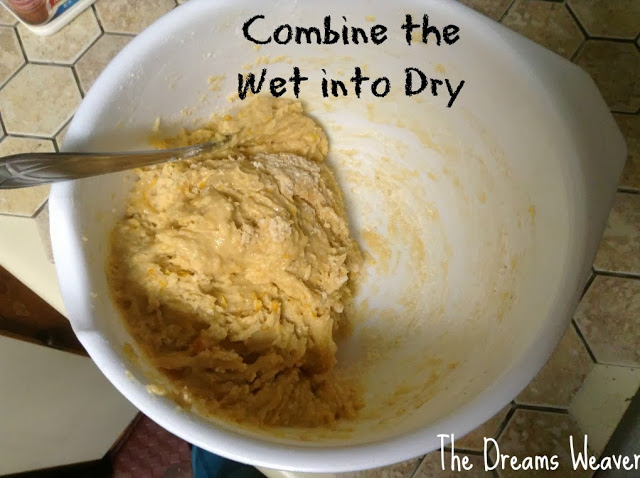
Pour the pumpkin mixture into the flour mixture.  Give it a quick stir to incorporate all of the ingredients, the dough will be a little crumbly.

Pumpkin Biscotti~ The Dreams Weaver

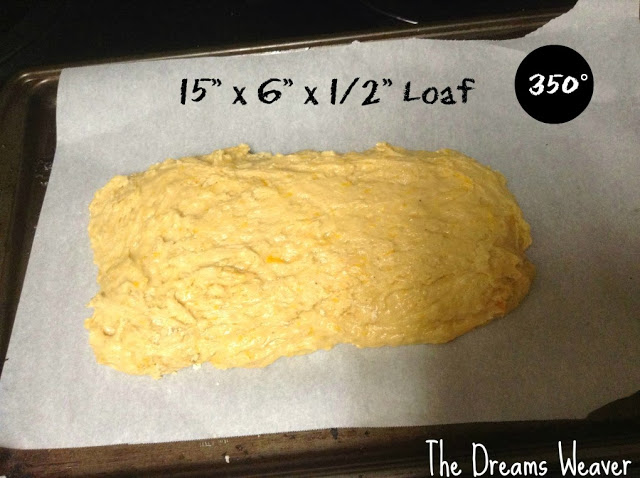
Line a baking sheet with parchment paper.  Form the dough into a long log, roughly 16 inches long by 6 inches wide.  The log should be relatively flat, only about ½ inch high, otherwise you will have really big sliced of biscotti.  

Pumpkin Biscotti~ The Dreams Weaver

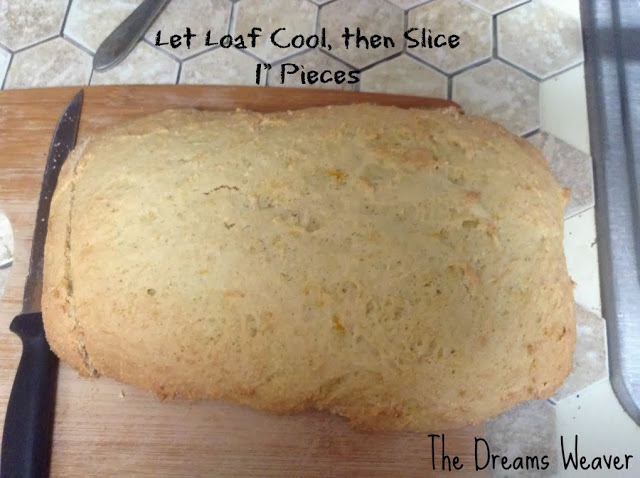
Baked for 20-25 minutes at 350°F, until the center is firm to the touch.You can also make two smaller logs for mini bite-size biscotti, just cut the baking time down to 15-20 minutes.
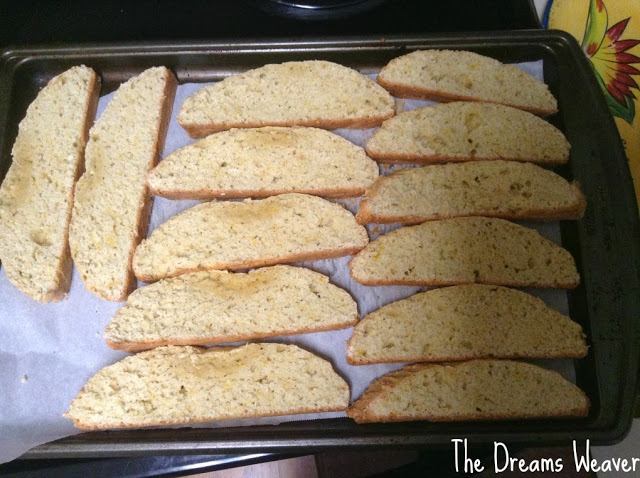
Let biscotti cool for 15 minutes.  Use a serrated knife cut the log into 1 inch wide pieces. 

Pumpkin Biscotti~ The Dreams Weaver

Turn the oven to 300°F and bake for an additional 15-20 minutes. Allow to cool completely.

Pumpkin Biscotti~ The Dreams Weaver

Biscotti may be still be a little moist and chewy, so if you prefer it crisp let it sit uncovered overnight in a dry space. 
Enjoy!

Pumpkin Biscotti~ The Dreams Weaver
photo signature_zpsf75b5071.png

Dreamy Pumpkin Bread

Have I said lately how much I love pumpkin? In case you missed it…I LOVE PUMPKIN! I don’t think I will ever get sick of it.
With that said, I want to share my pumpkin bread recipe. It started out as my banana bread recipe when I first made it a few years ago. This weekend a light bulb went off in my head as I was trying to think of new ways to incorporate pumpkin in my life….I can substitute mashed bananas for my pumpkin purée! I absolutely love Starbucks pumpkin bread, but at $2.25 a slice and some 300+ calories later I always regret it. My version has less than half the calories per slice and I can eat it more often {more pumpkin=more happy.}

Dreamy Pumpkin Bread~ The Dreams Weaver

What you will need:

1 ½ cups flour
1 ¼ tsps. baking powder
½ tsp. baking soda
½ tsp. ground cinnamon
1/8 tsp. salt
2 slightly beaten egg whites
1 cup pumpkin purée
¾ cup sugar
¼ cup canola oil
Nonstick spray
8x4x2” Loaf pan

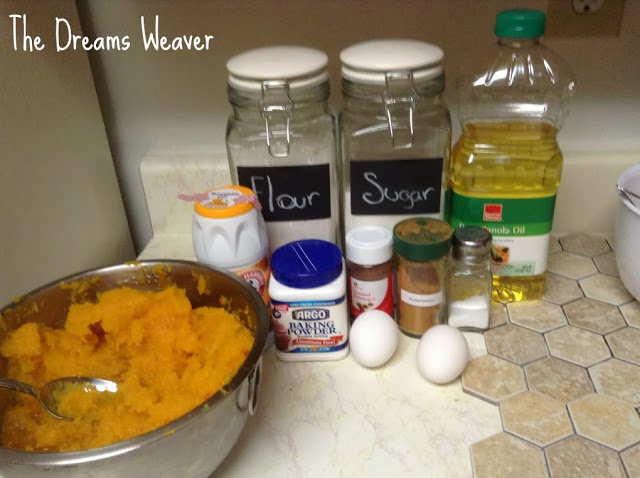
Dreamy Pumpkin Bread~ The Dreams Weaver

  
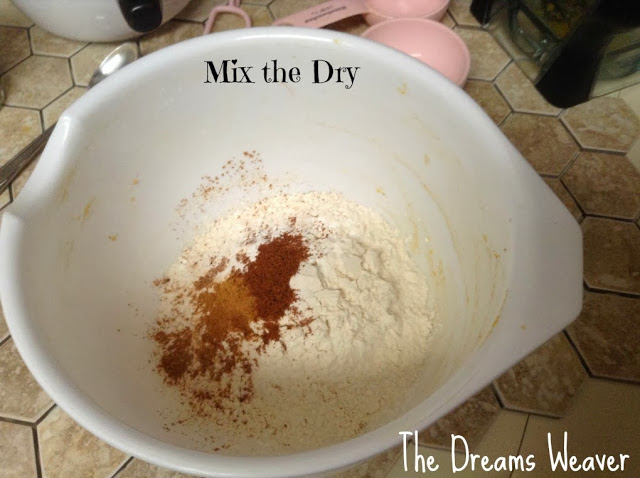
In a medium mixing bowl stir together flour, baking powder, baking soda, cinnamon, and salt.

Dreamy Pumpkin Bread~ The Dreams Weaver


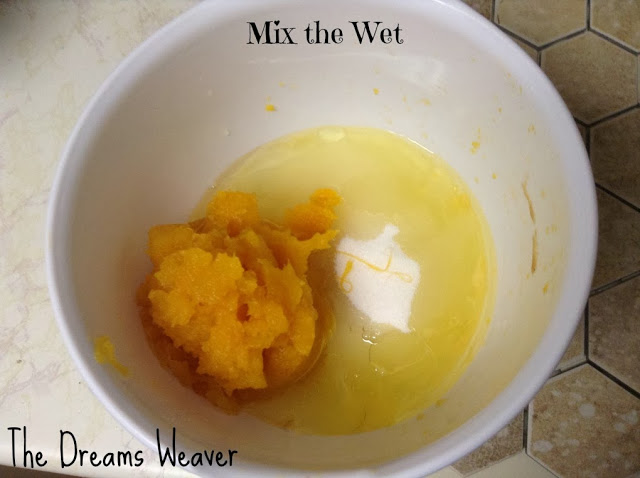
In a large mixing bowl whisk together egg whites, pumpkin, sugar, and oil. 

Dreamy Pumpkin Bread~ The Dreams Weaver


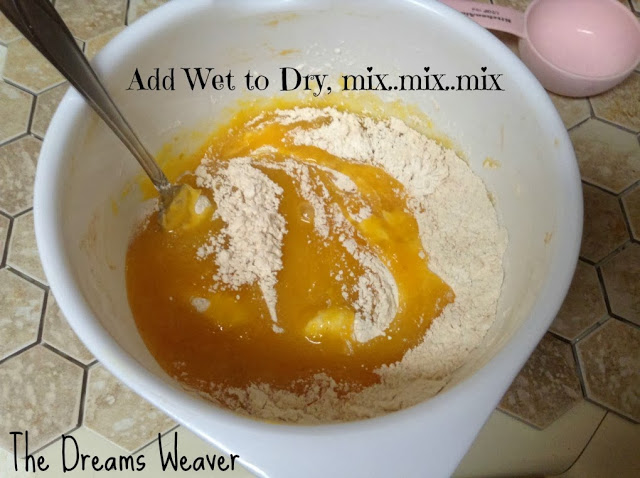
Stir flour mixture into pumpkin mixture until well incorporated.

Dreamy Pumpkin Bread~ The Dreams Weaver


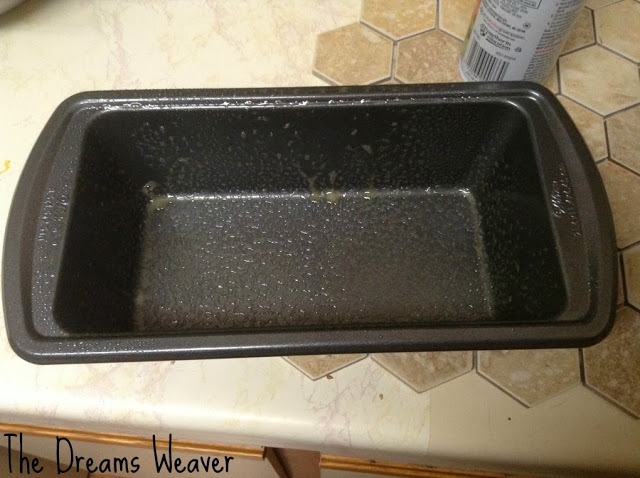
Liberally spray a loaf pan with nonstick spray {you do not want your bread to stick to the pan, so really spray it!} Spread batter into pan and bake at 350° for 45-50 minutes, or until a toothpick inserted into the center comes out clean.

Dreamy Pumpkin Bread~ The Dreams Weaver


Let the bread cool in the loaf pan for 10 minutes to set up. It was so hard not to take it out and have a taste of it at this point!

Dreamy Pumpkin Bread~ The Dreams Weaver


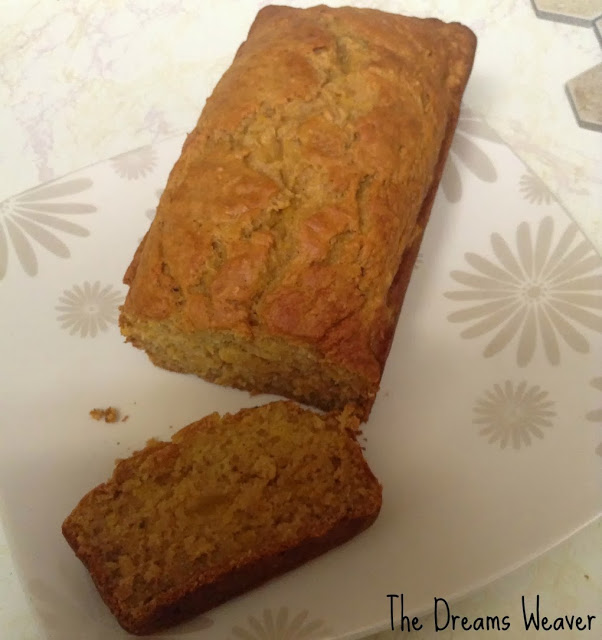
Remove from the pan and let cool thoroughly. Wrap in plastic wrap for storing.

Dreamy Pumpkin Bread~ The Dreams Weaver


Enjoy!

photo signature_zpsf75b5071.png

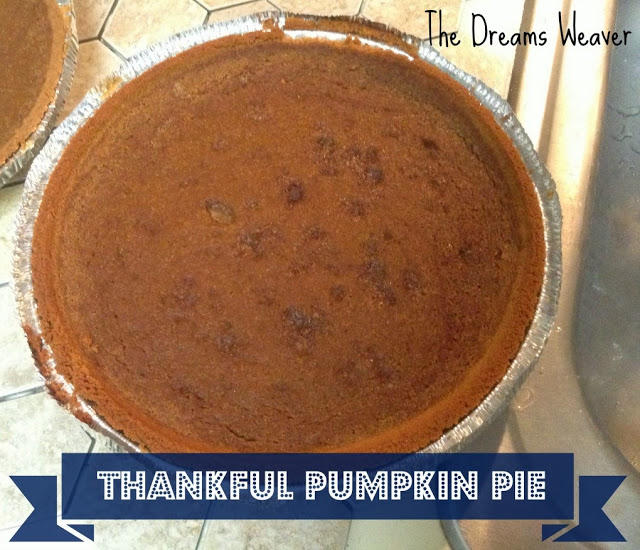
Thankful Pumpkin Pie

Thanksgiving is coming in just over 2 short weeks! What better way to get in the spirit {and tune out the way too early Christmas music} than getting the house to smell like warm spices and homemade pumpkin pie. I spent a good part of the weekend baking and DIY-ing cheap thrift store finds {which I will share within my next few posts}
I always make 2 pies at a time and freeze one for the next week {such a time saver.}

Thankful Pumpkin Pie - The Dreams Weaver

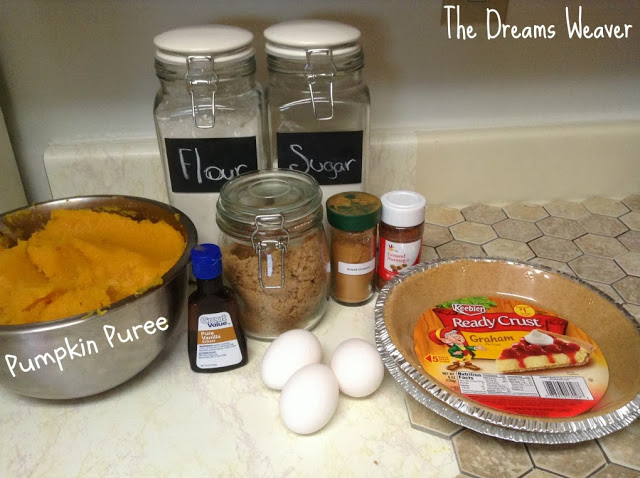
What you will need:

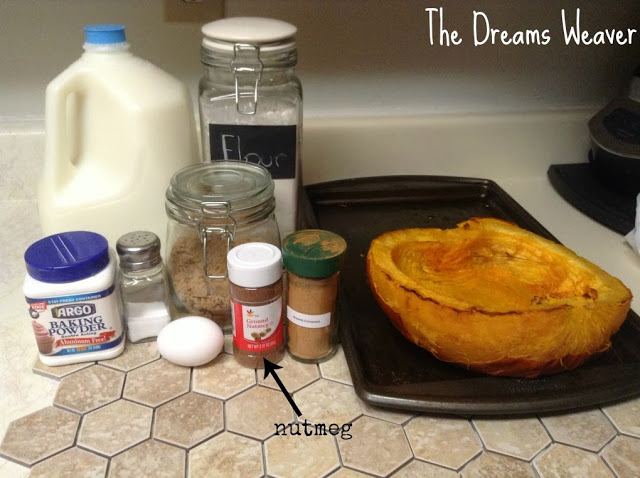
2 cups of pumpkin puree {recipe here} or canned pumpkin puree

1 ½ cup heavy cream or 1 12 oz. can of evaporated milk

½ cup packed dark brown sugar

¼ cup flour

2 eggs plus yolk of a 3rd egg

2 tsps. ground cinnamon

½ tsp. ground nutmeg

½ tsp. salt

2 good graham cracker crusts {or any good crust of your liking, I personally like the texture of the graham crumbs against the smooth pumpkin filling}

Thankful Pumpkin Pie - The Dreams Weaver

Preheat the oven to 425°.
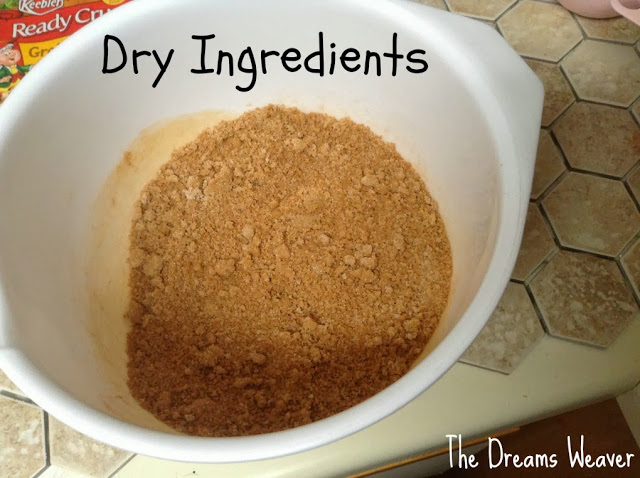
In a large bowl, mix together the flour, sugars, salt, and spices.

Thankful Pumpkin Pie - The Dreams Weaver

Beat the 2 eggs and yolk of a 3rd egg in a separate bowl, then incorporate into the dry ingredients bowl.

Thankful Pumpkin Pie - The Dreams Weaver

Stir in the pumpkin puree.  Stir in the cream/milk.  Whisk the whole mixture together until well incorporated.

Thankful Pumpkin Pie - The Dreams Weaver

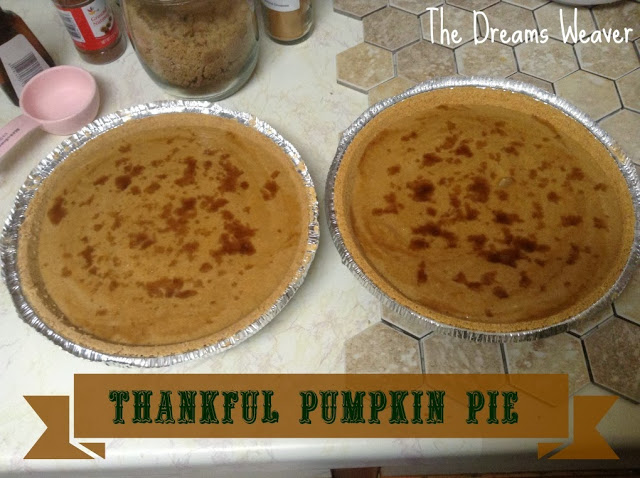
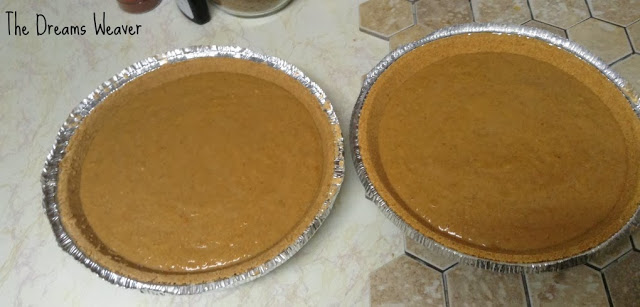
Pour half the mixture in each pie crust.

Thankful Pumpkin Pie - The Dreams Weaver

Optional- add some brown sugar crumbles to the tops of each pie for a more caramelized coating.
Bake at 425° for 15 minutes. After 15 minutes, reduce the temperature to 350° and bake another 40-50 minutes, or test readiness by inserting a toothpick {if it comes out clean, it’s ready!}

Let cool for 2 hours.


Enjoy!

Thankful Pumpkin Pie - The Dreams Weaver

photo signature_zpsf75b5071.png

Bakery Hack ~ Pumpkin Scones

I know what you’re thinking, scones sound so fancy and foreign they must include tons of ingredients and a thousand steps to the finish line…That’s what I thought as well when I first heard them…Well I was completely WRONG! They are actually quite simple and require only a few ingredients that you probably already have.
I also wanted to prove to my husband that they are dirt cheap to make, so I calculated the cost of my ingredients used per batch, it came to roughly $3 for a batch of 8 scones…that’s only 38 cents per scone! WHOA!! Bakeries charge like $4 a pop, they ain’t going to fool me twice!

Bakery Hack ~ Pumpkin Scones


What you will need:

½ cup packed light brown sugar

2 tsps. baking powder

1 tsp. ground cinnamon

1 tsp. ground nutmeg

½ tsp. salt

2 to 2 ½ cups flour, plus more for dusting

6 tablespoons cold unsalted butter, cut into 1/2-inch cubes

½ cup roasted pumpkin puree {recipe here}, or canned pumpkin puree

1 large egg

½ cup milk

Bakery Hack ~ Pumpkin Scones

Preheat oven to 400°.
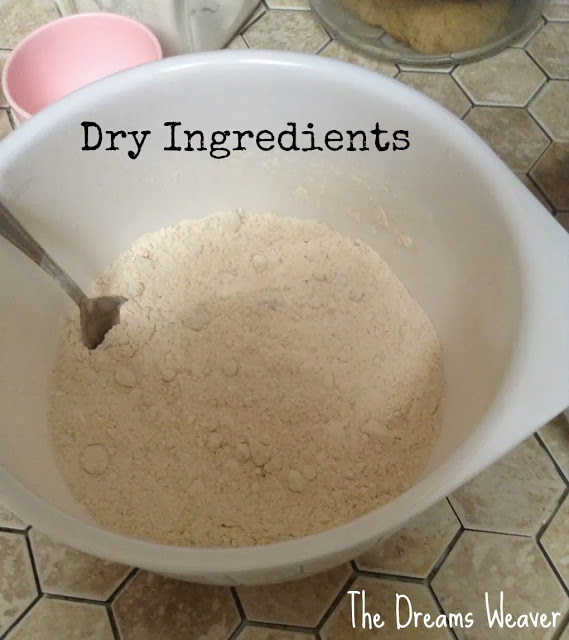
In a medium bowl combine the dry ingredients; sugar, baking powder, cinnamon, nutmeg, and salt.

If using roasted pumpkin {recipe here}, add 2 ¼ cups of the flour; if using canned pumpkin puree, add 2 cups of the flour.

Bakery Hack ~ Pumpkin Scones

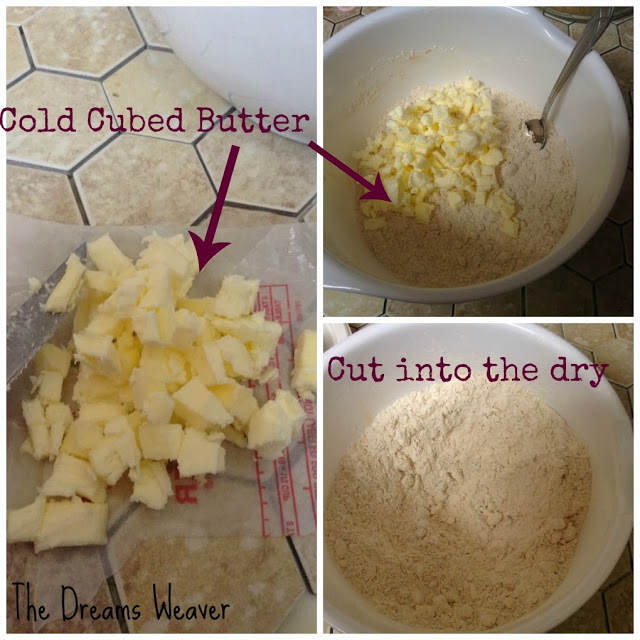
Cut in the butter into the dry ingredients using a bowl scraper until the mixture resembles a coarse meal.

Bakery Hack ~ Pumpkin Scones

In a separate bowl combine the wet ingredients; the pumpkin, egg, and milk.

Bakery Hack ~ Pumpkin Scones

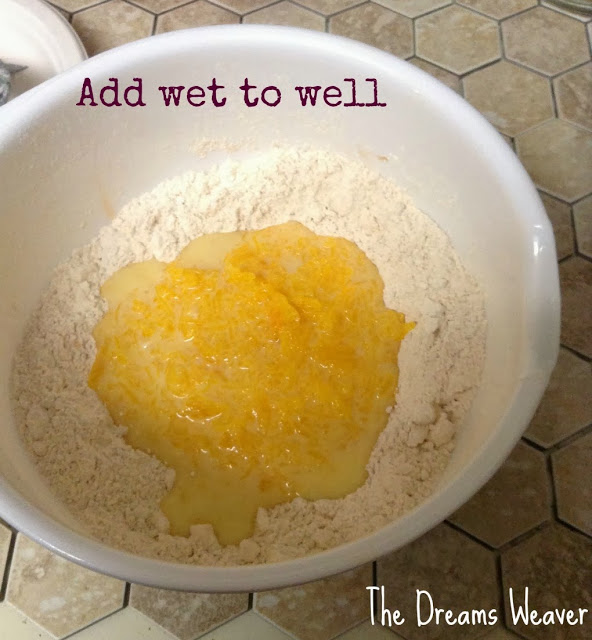
Make a well in the dry ingredients and pour in the wet mixture. Fold until just combined. (If using roasted pumpkin you may need to add up to ¼ cup more flour to prevent sticking.)

Bakery Hack ~ Pumpkin Scones

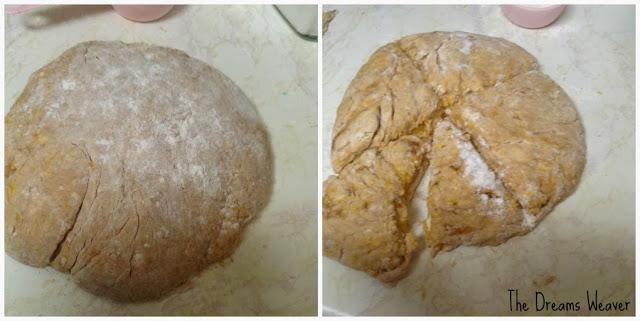
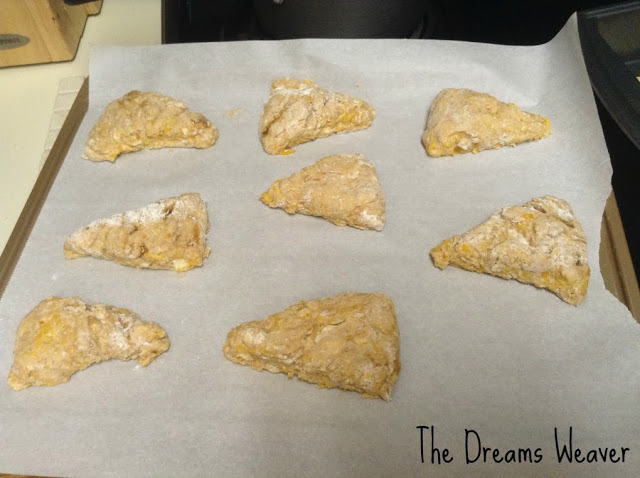
Turn the dough out onto a floured surface and knead until smooth. Form into a flat disc, about 8 inches wide. Cut the disc like a pie into 8 pieces and place on a parchment-lined sheet.

Bakery Hack ~ Pumpkin Scones

Bake until golden brown, roughly 12 to 15 minutes. Let cool on the baking sheet.

Bakery Hack ~ Pumpkin Scones

Enjoy!

photo signature_zpsf75b5071.png

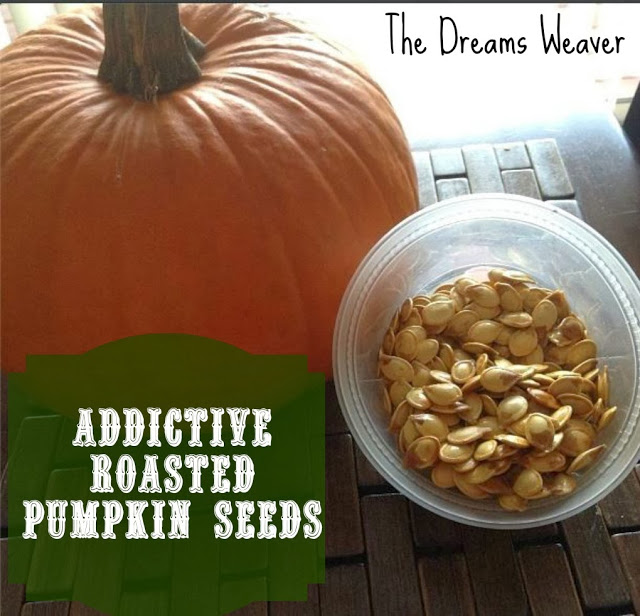
Once You Pop, You Can’t Stop ~ Easy, Addictive Roasted Pumpkin Seeds

My first attempt at roasting pumpkin seeds, I burned them to a crisp!I was heart-broken, as I didn’t think it was worth all of the effort in the first place. All that de-stringing of pumpkin pulp, and rinsing and re-rinsing, not even one good one to keep my spirits up.
I was not going to let the first burnt batch let me give up! So I did some more research on how to roast the perfect seed and…Eureka!  I finally found my answer; the inner seeds cook way faster than its outer shell.  I roasted my first batch until it looked like my seeds were golden color, when they really shouldn’t change color during the roasting process.

Once You Pop, You Can’t Stop ~ Easy, Addictive Roasted Pumpkin Seeds

I am going to share my secret of making the perfect bunch of roasted pumpkin seeds.
What you will need:

Pumpkin Seeds

Water

Salt

Oil

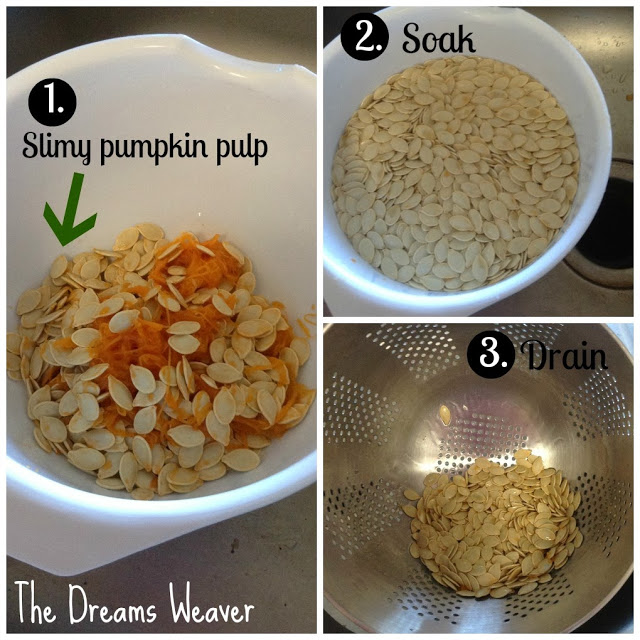
Clean the seeds. This step is the most grueling of the whole process, I promise! You need to really get in and clean the seeds of their slimy pumpkin pulp. I soak them in a bowl of cold water to loosen the pulp, and get my hands down and dirty into the bowl to loosen the pulp. I then strain the seeds in my colander, and repeat the process until all remaining pulp is set free from my lovely seeds.

Once You Pop, You Can’t Stop ~ Easy, Addictive Roasted Pumpkin Seeds

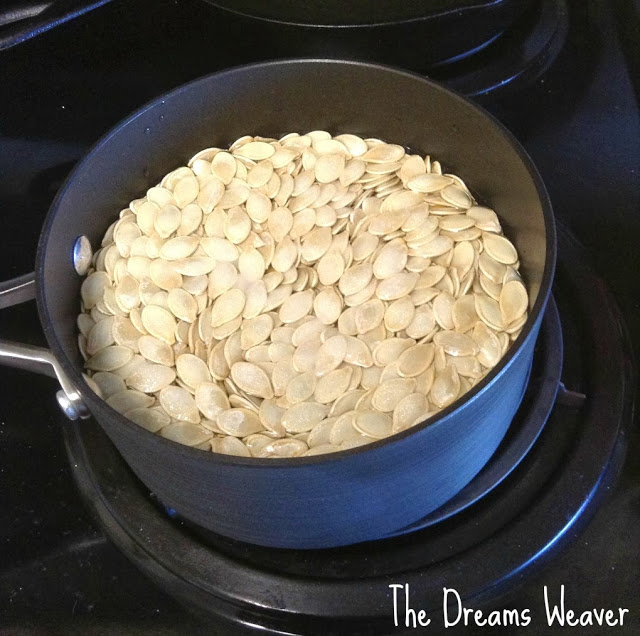
Boil the seeds for 10 minutes in salted water. 2 cups of water to every half of a cup of pumpkin seeds and 1 TBS of salt. Bring the pot of water, seeds, and salt to a boil and then reduce the heat to a simmer for 10 minutes. 

Once You Pop, You Can’t Stop ~ Easy, Addictive Roasted Pumpkin Seeds

Strain the seeds back into the colander and lightly pat dry with a tea towel, or a paper towel.  
Spread seeds onto a baking sheet and spray with olive oil until each seed is lightly coated. Add salt to the top {optional} or cinnamon sugar for the sweet tooth!

Once You Pop, You Can’t Stop ~ Easy, Addictive Roasted Pumpkin Seeds

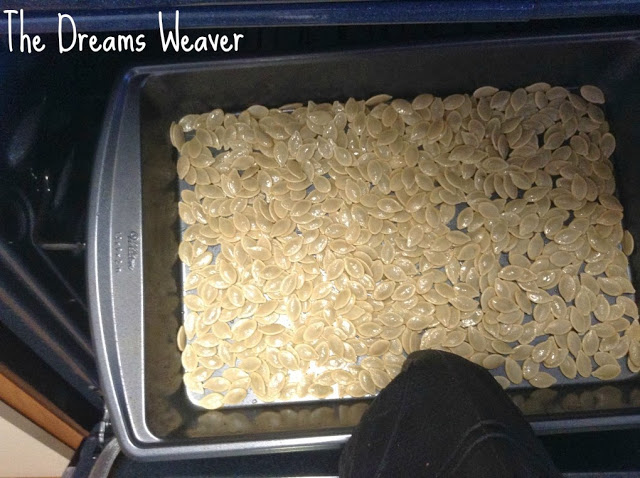
Time to roast! Roast at 350 degrees for 10-20 minutes.  I kept checking on mine every few minutes; I didn’t want another burnt seedcatastrophy!  They should not really change in color on the outside, but the inner seed should have a slight golden color to them and the outer shell should be crunchy.
Enjoy!

photo signature_zpsf75b5071.png

Fall Obsession: PUMPKINS! Roasted Pumpkin Recipe

Hi all! Welcome to my blog!! So happy you landed here. I thought I would start my first post with my new obsession, PUMPKINS!!!!
This is just the first of many posts that will include something edible with pumpkins.

First thing you need for any pumpkin recipe is roasted pumpkins! {soo much better and cheaper than the canned puree}

The hubby and I went apple picking a few weeks back and happen to pick up one large pumpkin on impulse for Fall decoration…It served its purpose, and I don’t like for anything to go to waste, so I came up with a few ways to utilize the pumpkin in some Fall inspired recipes {stay tuned more recipes to come!}

The base for all my pumpkin recipes is this really easy way to roast and puree my pumpkin.

You will need:
1 3-4 pound sugar pumpkin
Oil for drizzling
Some salt

Preheat oven to 400 degrees
Slice the pumpkin in half and scoop out the seeds into a bowl {save the seeds!}

Place pumpkin, cut side up, on a baking sheet. You can cut the pumpkin in quarters, but halves do the trick for me.
Drizzle with some oil, I use olive oil but vegetable oil will work if you don’t have olive oil, and some salt to season.

Roast until the pumpkin is softened, roughly 35-45 minutes.

Let the pumpkin cool completely before scooping it from the flesh and mashing. I just use a fork to mash it up a little.


The pumpkin puree will last up to 5 days covered in the fridge, or you can even freeze some in an airtight container to use later.


Stay tuned for how to use the seeds!